When winter hits, properly winterizing your camper is key to keeping it safe and ready for your next adventure. Whether you're storing it for the season or gearing up for cold-weather travel, learning how to winterize a camper will help you avoid costly repairs and ensure your RV stays in top condition. This guide breaks down the essential steps to help you protect your camper during the colder months.
Why Winterizing Your Camper is Crucial
Winterizing your camper is more than just a good idea—it’s a must. The cold temperatures and moisture can cause significant damage to your RV, from frozen pipes to mold and mildew buildup. Proper winterization protects your plumbing, electrical systems, and even the interior from harsh winter conditions. Neglecting this crucial step could lead to expensive repairs and a lot of headaches when you’re ready to hit the road again.
Essential Tools and Supplies
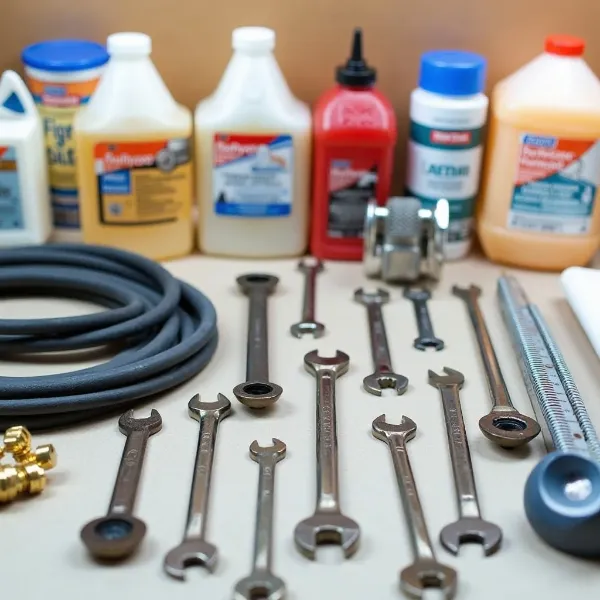
Before you start the winterizing process, gather the necessary tools and supplies. Having everything ready will make the task quicker and smoother:
- RV antifreeze (never use automotive antifreeze)
- Water pump converter kit
- Cleaning supplies (for the interior)
- Broom and dustpan
- Battery disconnect switch or wrench
- Foam or pipe insulation
- Camper cover
- Rodent repellent (to keep unwanted visitors out)
- Vacuum
- Caulk or sealant (for cracks and gaps)
These tools and supplies will help ensure your camper is fully prepared for winter.
Key Steps to Winterize Your Camper
To winterize your camper properly, follow these six essential steps to keep it safe from the cold and ready for spring.
Step 1: Drain and Flush the Water System
The first thing you’ll want to do when winterizing your camper is to drain all the water from the system. This includes the fresh water tank, gray water tank, and black water tank.
- Empty the fresh water tank and all waste tanks.
- Open all faucets to let the water drain out completely.
- Flush the system by running water through the toilet and faucets to ensure you’ve removed most of it.
- Use a water pump converter kit or compressed air to blow any leftover water out of the pipes.
Draining the system helps prevent freezing, which could lead to cracked pipes and costly repairs.
Step 2: Protect the Pipes with Antifreeze
Once the system is drained, you need to protect the pipes from freezing. RV antifreeze is essential for this step, but make sure you use RV-specific antifreeze, which is non-toxic and designed for plumbing systems.
- Fill the system with RV antifreeze using the water pump converter kit.
- Turn on the faucets and let the antifreeze flow through the pipes until you see it coming out of every fixture.
- Don’t forget the toilet and shower—flush antifreeze through these fixtures to protect all plumbing.
By using antifreeze, you’re making sure your pipes won’t freeze, crack, or burst when the temperatures drop.
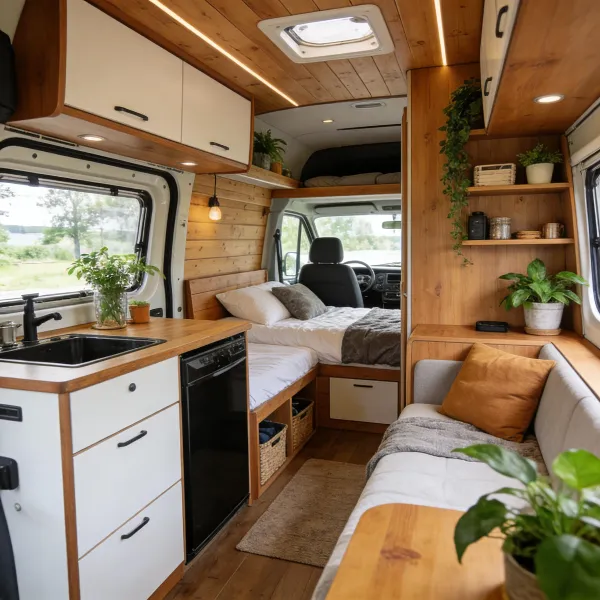
Step 3: Clean and Prepare the Interior
Now that the plumbing system is taken care of, it’s time to clean and prepare the interior of your camper. Winter is the perfect time to give it a deep clean, ensuring it stays in great shape and free from unwanted guests.
- Vacuum and sweep the floors, and wipe down all surfaces.
- Remove food and perishable items, as they can attract pests.
- Clean the fridge and leave the door slightly ajar to prevent odors and mold.
- Check for leaks or cracks in the interior, especially around windows and doors.
A clean and well-maintained interior will help keep pests out and prevent damage from moisture or mold.
Step 4: Disconnect the Battery and Prepare the Exterior
To keep your electrical system safe over the winter, you’ll want to disconnect the battery. Disconnecting the battery helps prevent power drain and corrosion.
- Disconnect the battery terminals to stop any electrical drain.
- Store the battery in a cool, dry place, away from freezing temperatures.
- Inspect the exterior for any damage, particularly seals around windows, doors, and the roof. Use caulk or sealant to seal any cracks or gaps.
By taking care of the exterior and battery, you’re ensuring that your camper stays in great shape for the next season.
Step 5: Insulate and Seal Vulnerable Areas
Cold weather can cause problems if your camper isn’t well-insulated. Insulating key areas and sealing cracks is a simple but effective way to protect your RV.
- Insulate water pipes with foam or pipe insulation to prevent freezing.
- Seal all gaps around windows, doors, and vents with weather stripping or caulk to keep the cold air and moisture out.
- Check vents and external access points for any gaps and seal them properly.
Proper insulation and sealing are crucial for preventing damage from the cold and moisture.
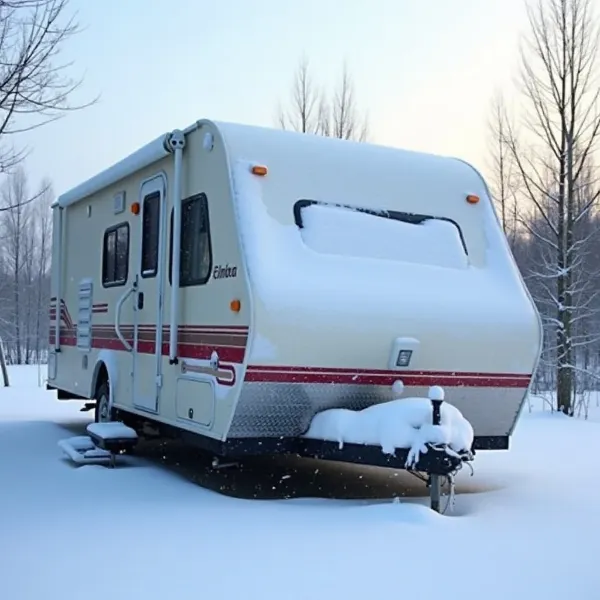
Step 6: Covering and Protecting Your Camper
The final step is covering your camper to shield it from the elements. A good cover will protect your RV from snow, rain, and UV rays.
- Invest in a high-quality RV cover to protect your camper from the harsh winter conditions.
- Use tire covers to shield your tires from UV damage and cracking.
- Block vents to keep rodents and pests from entering your camper.
By covering your camper, you’ll add an extra layer of protection against the elements and keep it in good condition until you’re ready to use it again.
Tips for Winterizing Different Types of Campers
Winterizing a camper can vary depending on the type of RV you have. Here are some tips for different camper types:
Winterizing a Travel Trailer
Travel trailers are typically easier to winterize than motorhomes. Start by draining and flushing the water system, and then fill the system with antifreeze. Pay attention to the plumbing and remove all food from the interior to avoid attracting pests. Travel trailers also require sealing around doors and windows to keep out drafts and moisture.
Winterizing a Motorhome
Motorhomes have more complex systems, especially in terms of plumbing and electrical components. Drain the water system, including the water heater, and add antifreeze to protect the plumbing. Disconnect the battery and store it properly. Motorhomes may also need extra attention to the engine and tires, so make sure those are properly covered and protected.
Winterizing a Fifth-Wheel Camper
Fifth-wheel campers often have larger tanks and more intricate plumbing systems. Follow the same steps for draining and antifreeze treatment, but make sure to inspect the underbelly and insulate it to prevent freezing. Pay extra attention to the hitch and seal all vulnerable points to avoid drafts and moisture damage.
Common Mistakes to Avoid
While winterizing your camper is fairly straightforward, there are a few common mistakes that can cause problems down the line:
- Not draining all the water lines: Leaving water in the pipes can cause them to freeze and crack.
- Using the wrong type of antifreeze: Make sure to use RV-specific antifreeze. Automotive antifreeze can cause damage to your system.
- Forgetting to disconnect the battery: If you leave the battery connected, it could lose charge or corrode.
- Neglecting interior cleaning: Leaving food or moisture inside can attract pests or cause mold to form.
- Not sealing cracks properly: Gaps around windows or doors can let in cold air, moisture, and pests.
Avoiding these mistakes will ensure your camper stays in great shape over the winter months.
Conclusion
Winterizing your camper is an essential step in preserving its condition and avoiding costly repairs. By following the steps outlined in this guide, you’ll be able to protect your RV’s plumbing, battery, and interior from the harsh winter conditions. Whether you’re storing your camper or preparing it for cold-weather travel, knowing how to winterize a camper properly will make your spring start much smoother.
Start early, take your time, and ensure your RV is well-protected so that when the warmer weather rolls around, you’ll be ready to hit the road again.